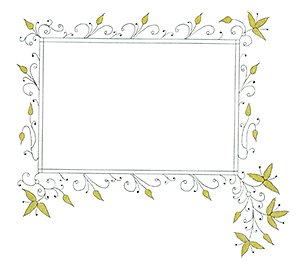
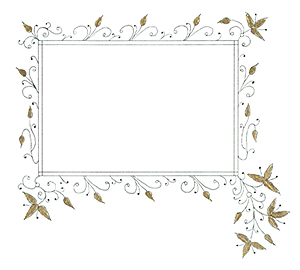
A simple border of pen sprays with a few touches of gold can be an effective, elegant frame for an illustration whether it is drawn in pen and ink, a grisaille style, or painted in color.
This type of border is often used in illuminated manuscripts to enhance an illustration or set it apart from blocks of text.
I use this type of border most often for my own work, particularly for a painted miniature with just a few words of text.
Here are a few examples from the British Library Catalogue of Illuminated Manuscripts:
Harley 1319 f. 12 – ivy leaves, pen sprays, painting
Lansdowne 1179 f. 4v – ivy leaves, pen sprays, drawing
Yates Thompson 10 ff. 12v-13 – ivy leaves, painting
Drawing the Border
What you need:
- pencil
- eraser
- graph paper about 4 square/inch (refer to the Calligraphy Resources page)
- fine point pigment pen (Pigma Micron, Staedtler Mars Professional, etc.)
- a gold leafing pen, gold gel pen (or something similar), or gold gouache
- final copy paper (e.g. 90 lb Hot Press Watercolor paper)
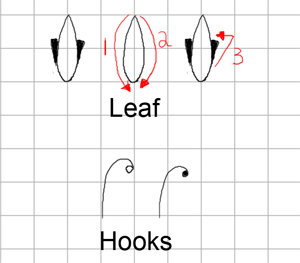
We’ll be using just a few, simple basic shapes – a leaf and two variations of a hook:
The leaf is a simple oval shape with a little inked-in detail at the edges. The hooks are similar except one terminates in an open circle, and the second one has a filled-in circle.
Step 1:
First we’ll layout the design on graph paper with pencil and then transfer it over to the final copy paper.
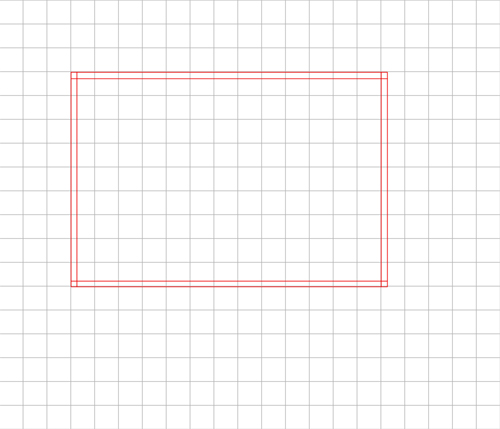
Draw a box about 3-5/8″ x 2-1/4″. Draw a second box about 1/8″ inside the second box.
Step 2:
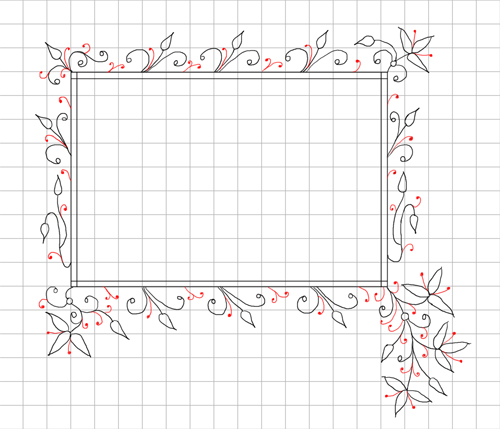
Draw a few stems with leaves attached around the outside border box – you can make these as simple or complex as you like! Note that I’ve combined 3 simple leaf shapes to make a “flower” at the corners.
Step 3:
Add a few “open hook” shapes to fill in the spaces.
Step 4:
Draw a few, smaller “closed hook” pen sprays around the leaves and open hooks.
Step 5:
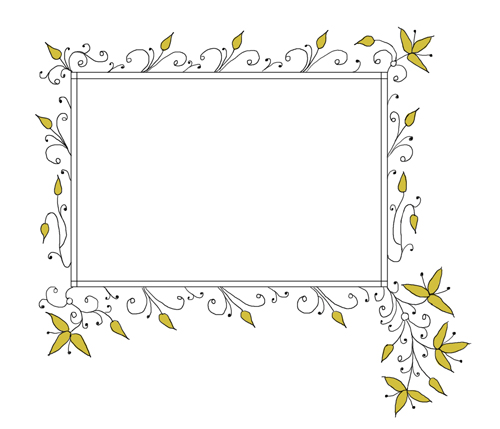
Transfer your drawing to the final copy paper. It’s usually a good idea to complete the gold areas before inking in the lines, or just inking in all the lines except around the gold leaves – this might depend on what you are using for gold – genuine gold leaf, solvent-based gold paint, gold gouache, gold gel pen, etc.
Test your gold on a scrap of your final project paper first to determine if you should ink the lines around the gold first or ink the lines after the gold is applied. Note that solvent-based gold paint (such as the leafing pen) might leak into the paper fibers, so it might be best to ink the lines after the gold is dry.
Finish inking the border adding the leaf details.
These are a couple of examples using a gold gel pen and a gold leafing pen:
The gel pen is quite easy to use and produces a nice, soft gold effect.
The gold leafing pen produces a very nice, shiny gold effect. It’s a little more difficult to use than the gel pen because of the flat shape of the tip (which also makes it great for lettering), and the solvent wants to soak into the paper fibers but it gives a more “authentic” look of gold.
Now that your border is complete, you can paint or draw an illustration inside!


